Why is this needed?
Admins who are using Azure AD Connect are currently receiving email notifications when there are synchronization errors in the Azure AD Connect synchronization process.
However, after mid-June 2022 admins who have not enabled Azure AD Connect Health email notifications will no longer receive synchronization error notification emails for their tenants.
Microsoft has migrated this functionality to the Azure AD Connect Health service. To continue receiving these notifications admins need to enable the Health email notifications service for their Azure AD tenant(s).
To enable Azure AD Connect Health email notifications, perform the following steps
- Navigate a browser to the Azure AD Admin Portal.
- Sign in with an account that has either the Global administrator or Hybrid Identity administrator role in the Azure AD tenant for which you want to enable Azure AD Connect Health email notifications.
- Perform multi-factor authentication when prompted.
- In the left navigation menu, click Azure Active Directory.
- In Azure Active Directory’s navigation menu, click on Azure AD Connect.
- On Azure AD Connect’s main pane, click the Azure AD Connect Health link.
- In Azure AD Connect Health’s menu, click Sync errors.
- At the top bar of the main pane, click Notification Settings
Hint: The direct link is here
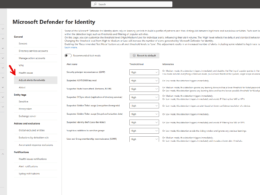
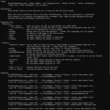
The Notification pane appears:
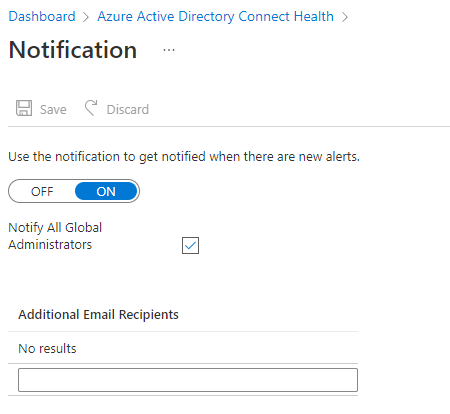
- On the Notification pane, make sure the value for Use the notification to get notified when there are new alerts is ON.
- Optionally, select or deselect the Notify All Global Administrators checkbox, to make the choice to have all global administrators receiving email notifications or not.
- Optionally, if you want to receive email notifications at any other email addresses, specify them in the fields for the Additional Email Recipients list. To remove an email address from this list, right-click the entry and select Delete.
- To finalize the changes, click Save at the top of the Notification pane.